Free swimlane process mapping from Aruvi Consultancy Services. Build Visio-style maps with steps, roles, and decisions — then export PNG, SVG, or Mermaid for workshops and decks.
From Free Tools, choose Open Process Map Studio
(or open process-tool/). A sample process loads so you can see steps, lanes, and the live map immediately.
Rename the process in the title field next to the Aruvi logo.
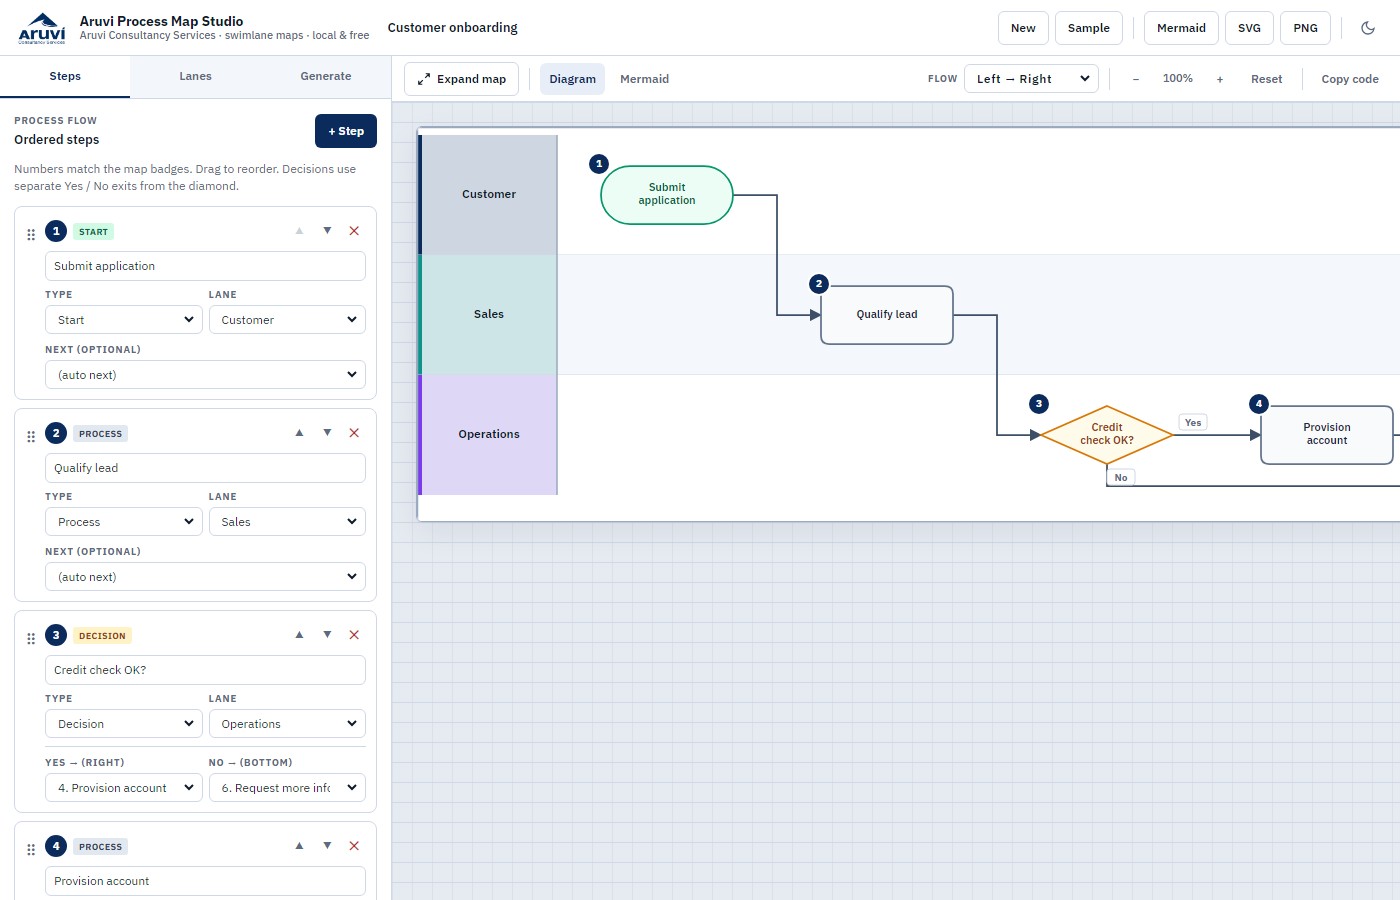
Figure 1 — Two-pane workspace: editor on the left, live swimlane map on the right.
On the Steps tab, add Start, Process, Decision, Parallel, and End steps. Numbers on the list match the badges on the map. Drag cards to reorder. For decisions, set Yes / No targets — Yes leaves the right tip of the diamond; No leaves the bottom tip (standard flowchart practice).
On the Lanes tab, add lanes for people, teams, or systems. Top-to-bottom order matches the diagram. Color tints help stakeholders read who owns which band of work.
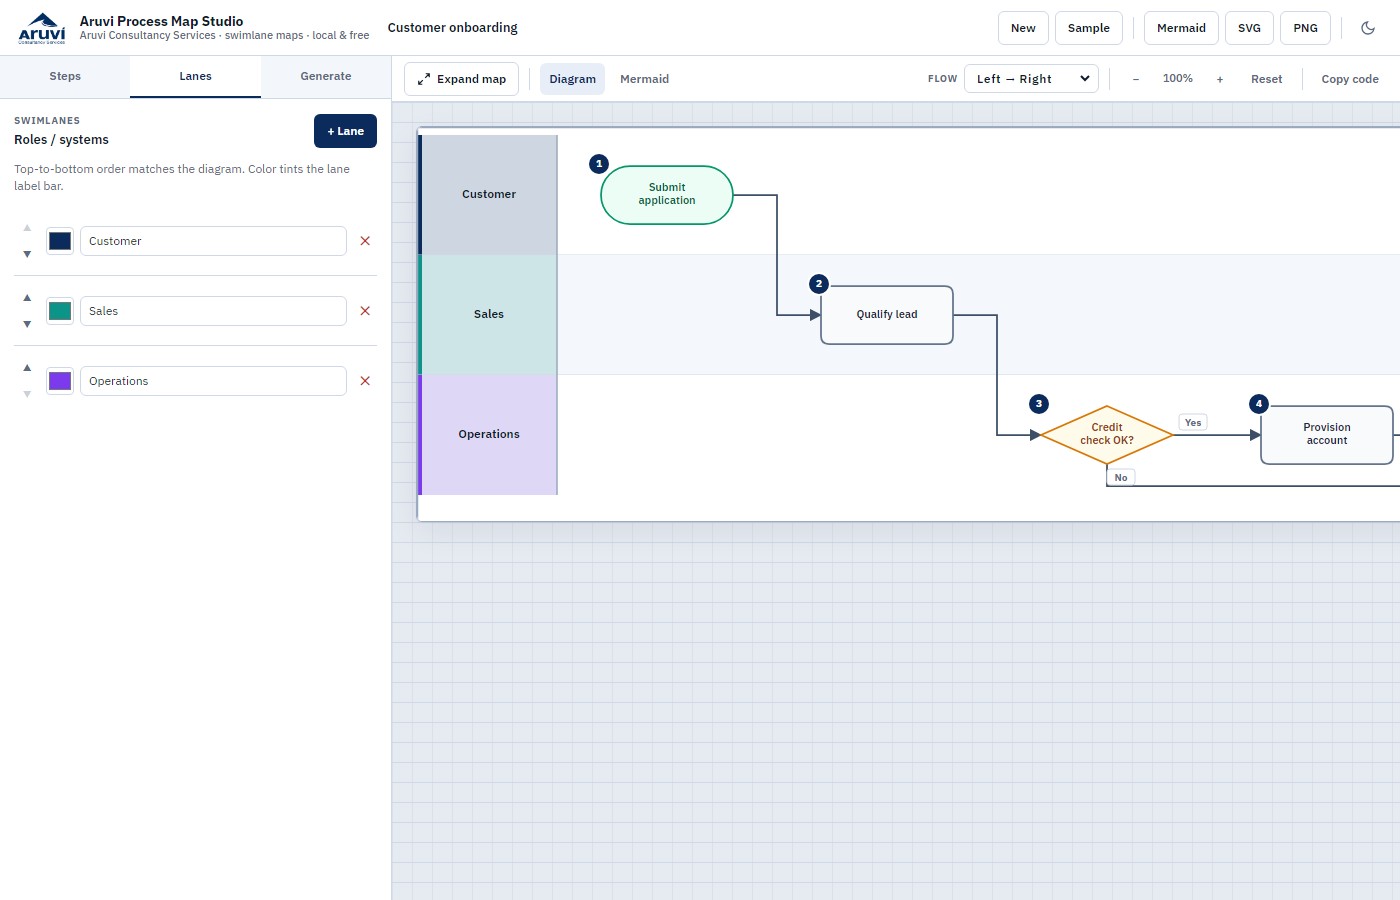
Figure 2 — Lanes tab: roles and systems that form the horizontal swimlane bands.
Use Expand map (or Ctrl+\) for a full-width diagram in workshops. Press Esc to restore the editor. Zoom controls help when the process is long.
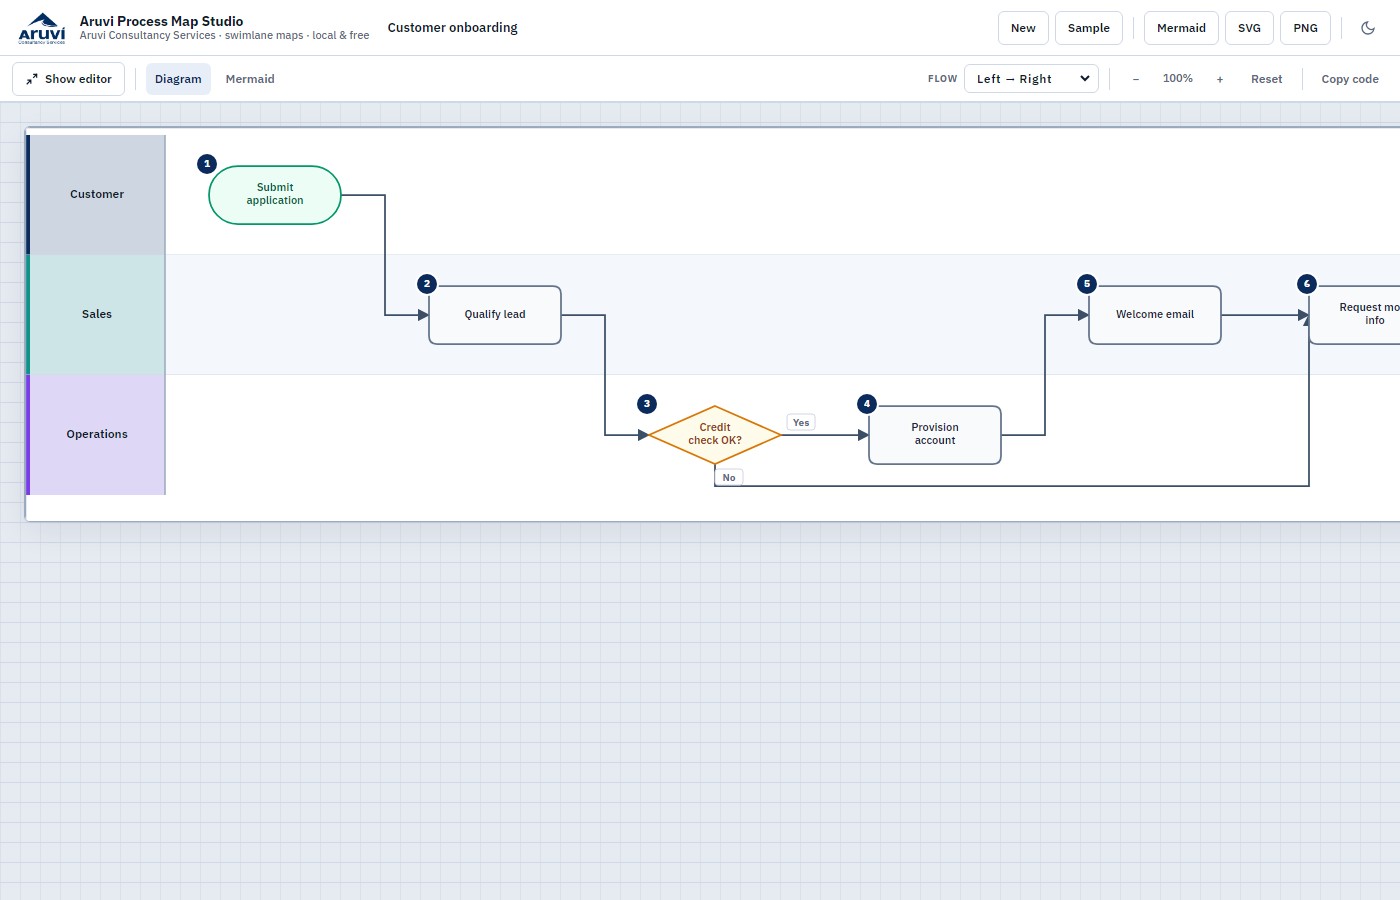
Figure 3 — Map focus mode: full diagram for walkthroughs and reviews.
In the header toolbar:

Figure 4 — Header exports: Mermaid, SVG, and PNG next to New / Sample.
Your map is also kept in this browser’s local storage so you can return to the same computer and continue editing.
On the Generate tab, paste a plain-language process description. Configure Ollama (local) or an OpenAI-compatible / xAI endpoint if you choose. API keys stay in the browser only — nothing is required for normal manual mapping.
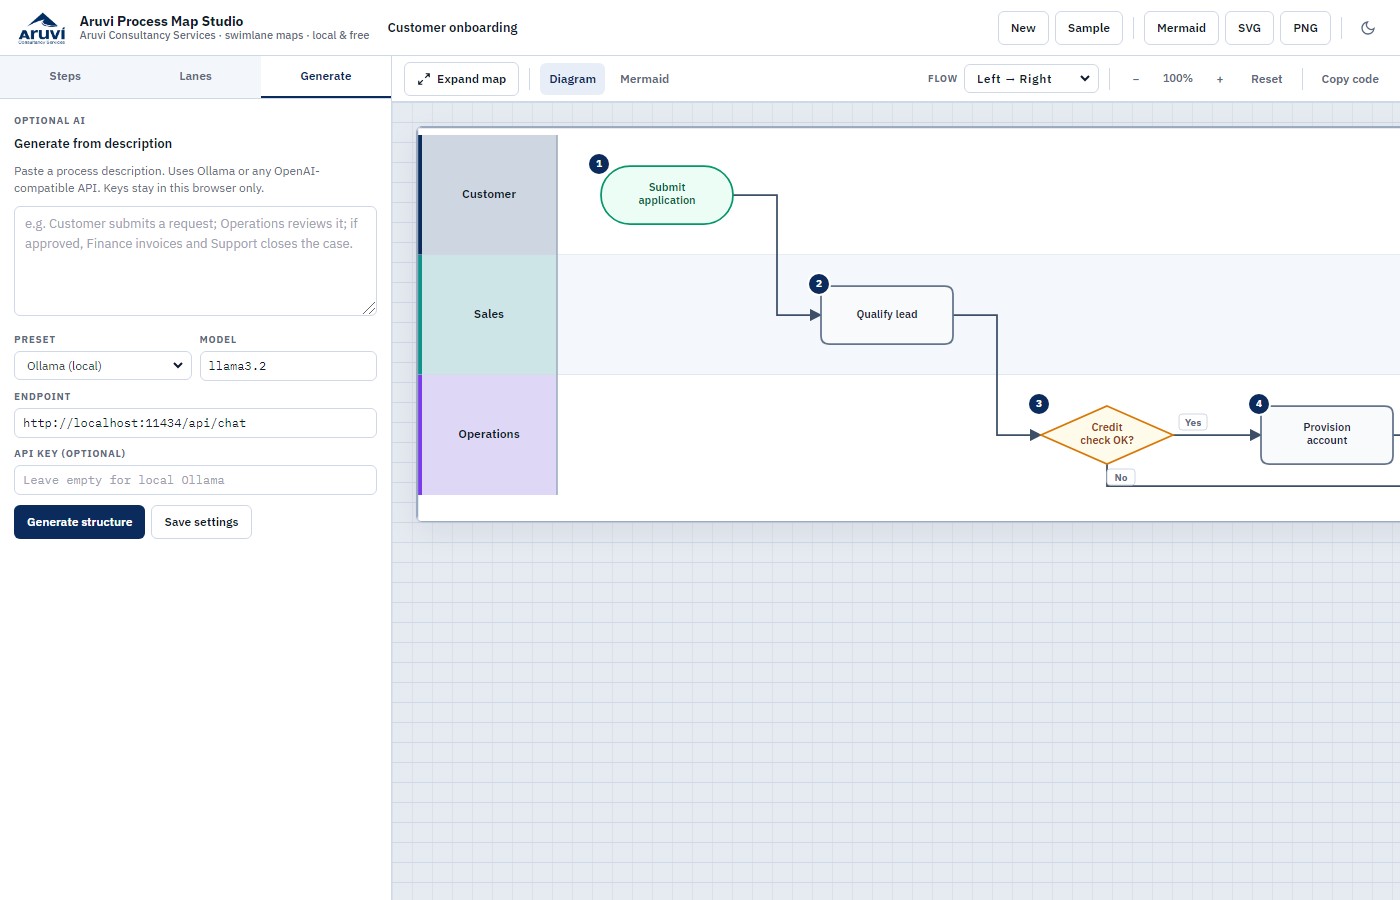
Figure 5 — Optional AI generate: paste a description; keys remain local.
Maps stay in this browser on your device; they are not stored on Aruvi servers. Optional AI generate (if you use it) calls only the endpoint you set — API keys remain in this browser session and are not sent to Aruvi. Export PNG/SVG when you need a portable copy. More detail on Free Tools.